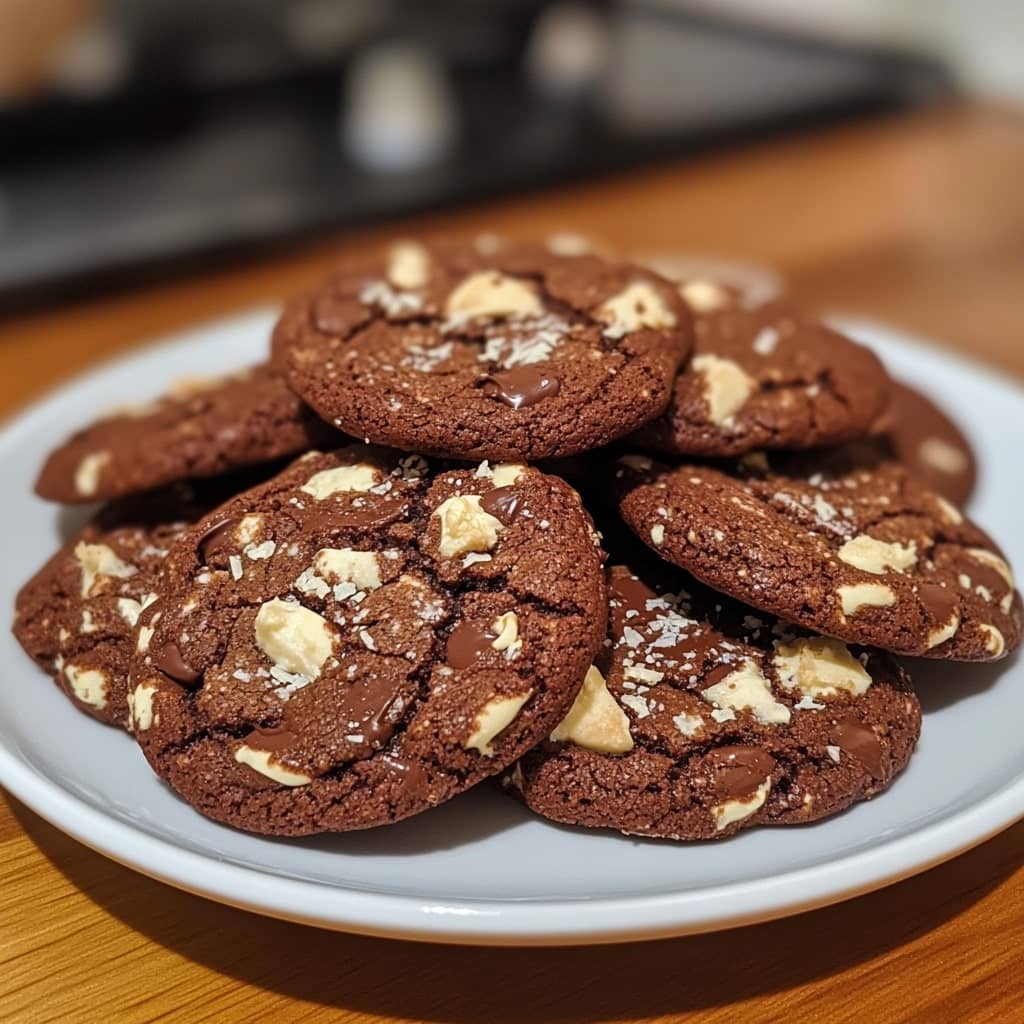
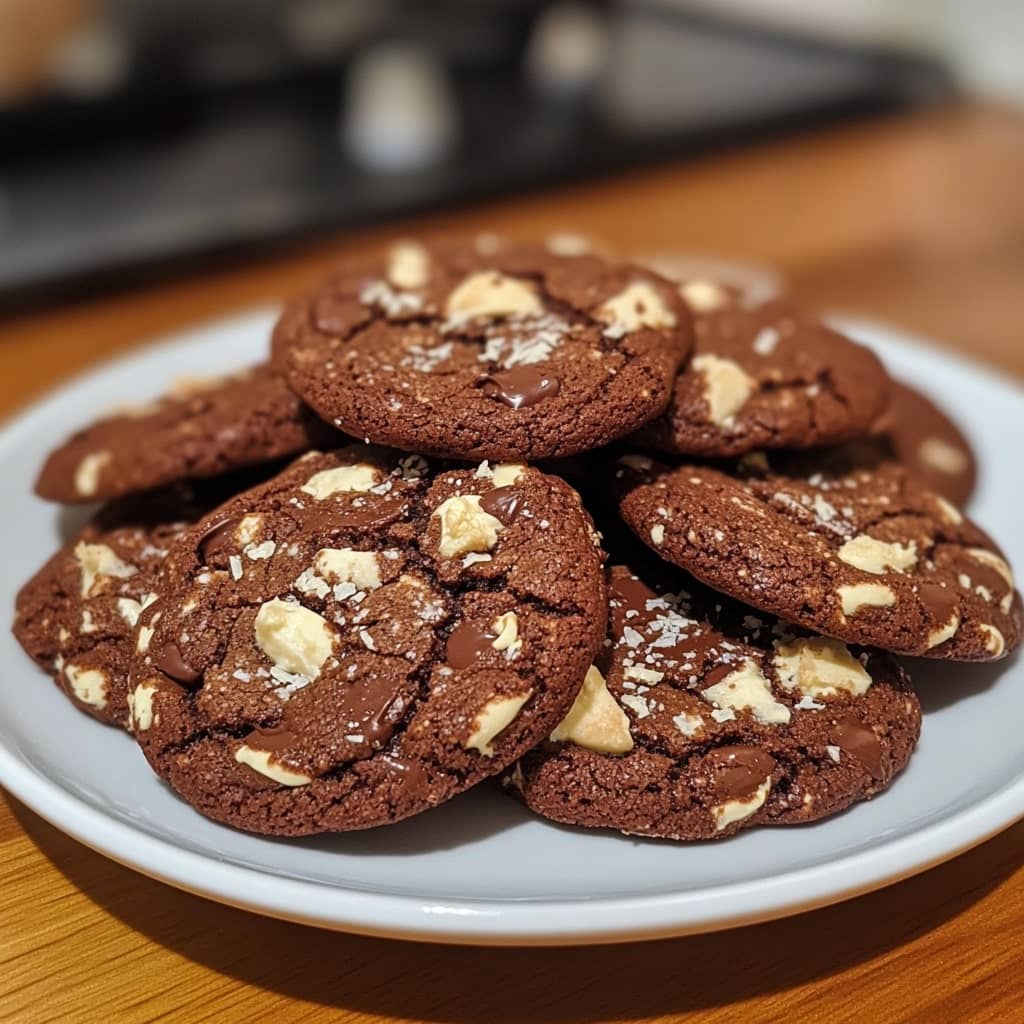
Chocolate mint cookies are a delightful fusion of rich cocoa and refreshing peppermint, offering a balance of indulgence and invigorating flavor. These cookies are especially popular around the holiday season but are perfect for any time of year when you’re craving a cool and chocolaty treat. Their unique taste and texture make them a standout on dessert trays, and they appeal to both chocolate lovers and fans of mint. Whether enjoyed with a glass of milk, a cup of coffee, or just on their own, chocolate mint cookies deliver a satisfying experience that tantalizes the taste buds and leaves you reaching for another.
The history of chocolate mint cookies can be traced back to the growing popularity of chocolate and mint combinations in confections throughout the 20th century. While peppermint and chocolate had long been paired in candies such as peppermint bark and chocolate-dipped mint patties, it wasn’t until the mid-1900s that home bakers began experimenting with this combination in baked goods. The flavor pairing gained further popularity with the introduction of commercial products like Thin Mints by the Girl Scouts in the 1950s, which became an American classic. Inspired by these treats, bakers began crafting their own versions of chocolate mint cookies at home. The trend has continued to evolve, and today, there are countless variations of this beloved cookie, from chewy and fudgy to crisp and crunchy, each with its own unique spin on the classic flavor profile.
Ingredients Breakdown
To make a standard batch of chocolate mint cookies, you’ll need the following ingredients: all-purpose flour – the base that provides structure to the cookie; unsweetened cocoa powder – for that deep chocolate flavor; baking soda – a leavening agent that helps the cookies rise; salt – enhances flavor; unsalted butter – for richness and moisture; granulated sugar – for sweetness and to help with the cookie’s texture; brown sugar – adds a touch of molasses and helps create a chewy consistency; eggs – act as a binding agent and add moisture; peppermint extract – gives the cookies their signature mint flavor; vanilla extract – rounds out the sweetness; and optional chocolate chips or mint chips – for added texture and extra bursts of flavor. Some variations might also include chopped Andes mints or peppermint candies crushed into the dough or used as a topping.
Step-by-Step Recipe
- Preheat your oven to 350°F (175°C) and line a baking sheet with parchment paper or a silicone baking mat. 2. In a medium bowl, whisk together 1 ¾ cups all-purpose flour, ¾ cup unsweetened cocoa powder, 1 teaspoon baking soda, and ½ teaspoon salt. Set this aside. 3. In a large bowl, using a hand mixer or stand mixer, cream together ¾ cup unsalted butter (softened), ½ cup granulated sugar, and ½ cup packed brown sugar until light and fluffy. This should take about 2-3 minutes. 4. Add 2 large eggs, one at a time, beating well after each addition. Then mix in 1 teaspoon peppermint extract and 1 teaspoon vanilla extract. 5. Gradually add the dry ingredients to the wet ingredients, mixing on low speed until just combined. Do not overmix. 6. Fold in 1 cup chocolate chips or mint chips (optional) using a spatula or wooden spoon. 7. Scoop the dough using a cookie scoop or tablespoon and place on the prepared baking sheet, spacing each cookie about 2 inches apart. 8. Bake for 8–10 minutes, or until the edges are set and the centers are still slightly soft. 9. Allow the cookies to cool on the baking sheet for 5 minutes before transferring them to a wire rack to cool completely. 10. For an extra minty kick, you can top each cookie with a piece of Andes mint while they’re still warm, letting it melt slightly, then spreading it gently with a knife for a shiny mint glaze.
Tips for the Perfect Cookie
Use high-quality unsweetened cocoa powder for a richer chocolate flavor. Don’t overmix the dough once the flour is added—this can result in tough cookies. For chewier cookies, slightly underbake them and allow them to finish setting on the baking sheet. If you want a more intense mint flavor, you can add crushed peppermint candies to the dough or sprinkle them on top before baking. Chill the dough for at least 30 minutes if you prefer thicker cookies that don’t spread as much. Using a cookie scoop ensures that all cookies are uniform in size, which helps with even baking. Let your butter soften at room temperature rather than microwaving it, as unevenly melted butter can affect the texture of the dough. Store cookies in an airtight container with a slice of bread to keep them soft for days.
Variations and Customizations
There are numerous ways to customize chocolate mint cookies to fit your personal taste. For a more decadent version, dip half of each baked cookie in melted dark or white chocolate and let them set on parchment paper. If you enjoy a crisp cookie, press the dough flatter before baking and bake a minute or two longer. Add green food coloring to the dough or drizzle green icing on top for a festive St. Patrick’s Day or holiday touch. Swap out chocolate chips for white chocolate or mint-flavored chips for a different flavor dimension. For a gluten-free version, use a one-to-one gluten-free flour blend. Vegan versions can be made using plant-based butter, flax eggs (1 tablespoon flaxseed meal + 3 tablespoons water per egg), and dairy-free chocolate chips. You can even turn the dough into a chocolate mint cookie bar by pressing it into a greased baking pan and baking for 18–20 minutes, then cutting into squares.
Health Considerations and Nutritional Value
Chocolate mint cookies are undoubtedly a treat, but it’s helpful to understand their nutritional content. A typical homemade cookie contains around 120–160 calories, depending on its size and the ingredients used. They generally provide carbohydrates from the flour and sugars, fats from the butter and chocolate, and a small amount of protein from the eggs. While they are not considered a health food, they can be enjoyed in moderation as part of a balanced diet. For those watching their sugar intake, using a sugar substitute such as erythritol or stevia can reduce the overall calorie count. You can also experiment with whole wheat flour for added fiber or reduce the butter slightly and replace part of it with unsweetened applesauce to cut down on fat. Individuals with allergies or intolerances can make substitutions, such as using almond flour or oat flour, and selecting allergen-free chocolate chips. Mint, in itself, has soothing properties and can aid digestion, making it a refreshing flavor that pairs well even from a functional standpoint.
FAQ
Can I use peppermint oil instead of extract? Yes, but peppermint oil is much more concentrated than extract. Use only a few drops in place of a teaspoon of extract.
How long do chocolate mint cookies stay fresh? When stored in an airtight container at room temperature, they stay fresh for about 5–7 days. They can also be frozen for up to 3 months.
Can I make the dough ahead of time? Absolutely. The dough can be refrigerated for up to 72 hours before baking. Let it sit at room temperature for 10–15 minutes before scooping.
What makes my cookies spread too much? This can happen if your butter was too soft or melted, or if there is too much sugar. Chilling the dough can help prevent excessive spreading.
Can I double the recipe? Yes, this recipe scales up well. Just ensure your mixer is large enough, and consider mixing in batches if necessary.
Can I use fresh mint instead of extract? Fresh mint can be infused into the butter or sugar for flavor, but it won’t be as intense as extract. It may also introduce moisture, affecting the texture.

Chocolate Mint Cookies
Ingredients
Method
- Start by preheating your oven to 350°F (175°C) and lining two baking sheets with parchment paper. In a large mixing bowl, use an electric mixer to cream together the butter and granulated sugar until the mixture is smooth and fluffy, which should take about 3–4 minutes. Add the vanilla extract and the egg, and continue mixing until everything is fully incorporated. Gradually add in the flour, cocoa powder, baking soda, and salt, mixing just until a soft dough forms. The dough should be cohesive and may feel slightly tacky but not overly sticky. Roll the dough into 16 balls, approximately 1¾ inches in diameter (a little larger or smaller is fine depending on your preference). Arrange them on the prepared baking sheets and bake for 8 to 10 minutes, just until the edges are set and the centers appear slightly glossy. Allow the cookies to cool on the baking sheets for 10 minutes before transferring them to a wire rack to cool completely.
- In a medium bowl, beat together the powdered sugar, butter, milk, and mint extract until smooth and creamy. If using, add a drop or two of green food coloring to achieve the desired shade. Adjust the consistency by adding more powdered sugar if the frosting is too thin, or a splash more milk if it’s too thick. Once the cookies are completely cool, spread the frosting evenly over the tops. Place the frosted cookies in the freezer for at least 15 minutes to help the frosting firm up before adding the ganache.
- Combine the chocolate and oil in a medium, microwave-safe bowl. Heat in the microwave in short bursts of 30 to 40 seconds, stirring thoroughly between each interval, until the chocolate is just melted and smooth. Remove the chilled cookies from the freezer and spoon the ganache over the frosting. The cold cookies will help control the flow of the ganache, keeping it from running off the edges. Once topped, the cookies can be served immediately or left at room temperature to thaw completely—the ganache will stay set and firm either way.
Notes
To make this recipe dairy-free, simply swap the butter for a firm vegan margarine and use dark chocolate instead of milk chocolate. For a gluten-free version, substitute the flour with gluten-free oat flour—just be sure it’s certified gluten-free to avoid any cross-contamination. If you’re looking to add more fiber, whole wheat flour works beautifully in this recipe. I often bake these cookies using 100% whole wheat flour, and no one can tell the difference—it’s a simple way to boost nutrition without sacrificing taste. While we love the classic chocolate and mint combination, the frosting is incredibly versatile. Mint extract can easily be swapped for another extract of your choice, so feel free to experiment with different flavors to suit your preferences. Storage:
After the cookies have completely cooled on a wire rack, they should be stored in an airtight container either in the refrigerator or the freezer. While they can sit out at room temperature for an hour or two, it’s best not to leave them out too long, as the chocolate and frosting may soften. In the fridge, the cookies will stay fresh for up to one week. For longer storage, freeze them for up to two months. To freeze, place the cookies on a baking tray and flash-freeze until firm, then transfer them to a Ziploc bag with parchment paper between each cookie to prevent sticking.
