Ice Cream Sandwich Cake: A Decadent Frozen Delight
The Ice Cream Sandwich Cake is more than just a dessert—it’s a celebration of texture, temperature, and taste. Perfect for summer barbecues, birthday parties, or simply satisfying a sweet craving, this no-bake cake combines the nostalgic charm of ice cream sandwiches with the grandeur of a layered dessert masterpiece. Whether you’re serving it at a family gathering or enjoying a quiet slice under the stars, this cake promises creamy richness, chocolatey crunch, and pure indulgence in every bite.
The History of the Ice Cream Sandwich Cake
The roots of the Ice Cream Sandwich Cake trace back to the broader history of ice cream sandwiches themselves, which gained popularity in the United States during the early 20th century. Originally sold by street vendors, especially in New York City, ice cream sandwiches featured simple vanilla ice cream nestled between two thin chocolate wafers. As home freezers became common household appliances post-World War II, families began experimenting with frozen desserts, leading to creative concoctions like the ice cream cake.
The fusion of ice cream sandwiches into a layered cake format likely emerged in the 1970s and 1980s, when convenience foods and dessert hacks were on the rise. Home cooks started stacking store-bought ice cream sandwiches with whipped toppings and syrups to create impressive yet easy-to-make treats. Over time, bakers refined the concept, incorporating homemade elements, gourmet flavors, and decorative touches. Today, the Ice Cream Sandwich Cake stands as a modern classic—a symbol of American ingenuity in dessert-making that blends accessibility with elegance.
Ingredients Breakdown: What Makes This Cake Irresistible?
The magic of an Ice Cream Sandwich Cake lies in its simplicity and balance of ingredients. Each component plays a crucial role in building flavor, texture, and structure:
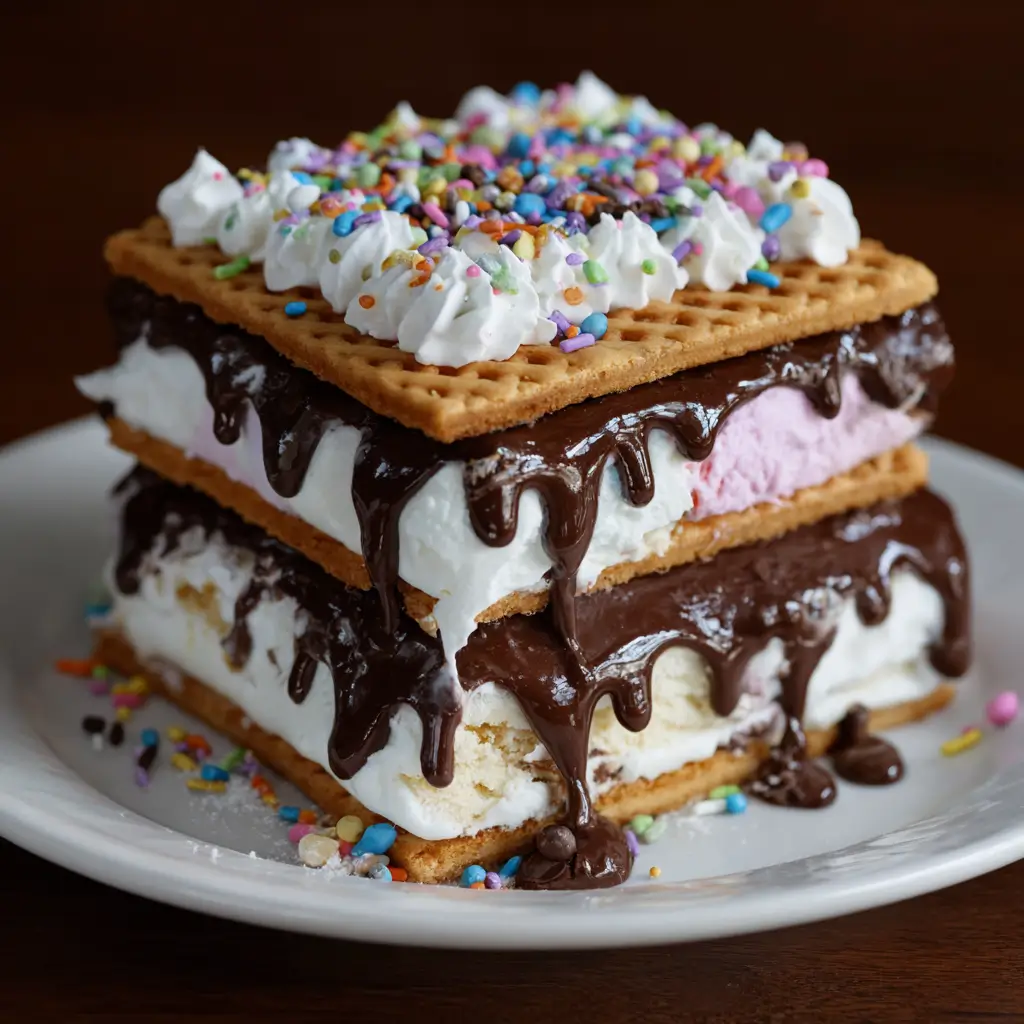
- Ice Cream Sandwiches: These form the backbone of the cake. Most commonly used are classic chocolate-wafer-and-vanilla-ice-cream varieties, but any flavor—chocolate chip, mint chocolate, cookies and cream—can be incorporated based on preference. The wafer provides a crisp contrast to the soft ice cream, creating a dynamic mouthfeel.
- Softened Ice Cream: Used as a “frosting” or filling layer, additional ice cream (often matching the sandwich flavor) ensures creaminess between each tier and seals the layers together seamlessly.
- Whipped Topping: Either store-bought whipped cream or a homemade version made from heavy cream and powdered sugar adds lightness and balances the richness of the ice cream.
- Flavor Enhancers: Ingredients like chocolate syrup, caramel sauce, crushed cookies, chopped nuts, or fruit preserves can elevate the taste profile and add visual appeal.
- Optional Stabilizers: For improved structural integrity, some recipes include gelatin, marshmallow fluff, or pudding mix to prevent melting and maintain shape when sliced.
Together, these components create a harmonious blend of cold, creamy, crunchy, and sweet—transforming humble frozen snacks into a show-stopping dessert centerpiece.
Step-by-Step Recipe: How to Make an Ice Cream Sandwich Cake
Creating your own Ice Cream Sandwich Cake is surprisingly simple and requires no baking—just freezing. Follow this detailed guide to craft a flawless frozen dessert:
- Preparation: Begin by ensuring your freezer is set to its coldest setting. Gather all ingredients and tools: a springform pan or loaf pan (preferably non-stick), a mixing bowl, spatula, knife, and parchment paper for easy removal.
- Line the Pan: Cut a piece of parchment paper to fit the bottom of the pan and another long strip to line the sides. This prevents sticking and allows effortless release after freezing.
- First Layer – Base: Remove the ice cream sandwiches from their packaging. Arrange a single layer of whole or halved sandwiches flat-side down at the bottom of the pan, forming a tight, even foundation. If needed, gently press them together to eliminate gaps.
- Second Layer – Filling: In a chilled bowl, beat softened vanilla (or complementary flavor) ice cream until smooth and spreadable. Spread a generous layer (about ½ inch thick) evenly over the first sandwich layer using a spatula. Smooth the surface for a professional finish.
- Third Layer – Repeat: Add another layer of ice cream sandwiches directly on top of the filled layer. Again, ensure they are tightly packed. Repeat the process of adding softened ice cream on top and spreading it smoothly.
- Final Layer: Place one last layer of ice cream sandwiches on top. Cover completely with a final thick layer of softened ice cream, sealing the entire cake. Use the spatula to create swirls or peaks for aesthetic appeal.
- Add Toppings: Now’s the time to get creative. Drizzle warm fudge or caramel sauce over the top, sprinkle with crushed Oreos, chopped almonds, mini chocolate chips, or rainbow sprinkles. You can also pipe rosettes of whipped cream around the edges.
- Freeze Thoroughly: Cover the pan loosely with plastic wrap or aluminum foil. Freeze for at least 6–8 hours, preferably overnight, to allow the cake to set completely and develop firm structure.
- Serve: When ready to serve, remove the cake from the freezer 5–10 minutes before slicing to soften slightly for cleaner cuts. Run a hot knife under warm water and dry it before cutting each slice. Release the springform clasp carefully and transfer slices to individual plates.
Your Ice Cream Sandwich Cake is now ready to dazzle guests with its cool, creamy layers and nostalgic flair!
Tips for the Perfect Ice Cream Sandwich Cake
- Work Quickly: Since everything involves frozen ingredients, minimize the time the components spend outside the freezer. Keep extra ice cream and sandwiches chilled while assembling.
- Uniform Layers: Use the same number of sandwiches per layer for balanced height and appearance. Trim edges if necessary to fit snugly.
- Avoid Melting: Don’t let the softened ice cream become too runny. Take it out of the freezer about 10–15 minutes before use—just enough to spread easily without dripping.
- Use a Springform Pan: This makes unmolding the cake much easier than traditional pans. Greasing isn’t necessary due to the lining, but double-check the seal to prevent leaks.
- Chill Your Tools: Refrigerate your spatula and mixing bowls beforehand to keep the ice cream from warming too fast during assembly.
- Seal Air Gaps: Press layers gently but firmly to avoid air pockets that could lead to cracking or uneven texture.
- Label and Date: If storing for later, wrap the entire cake in plastic and label it with the date. It keeps well for up to 3 weeks in the freezer.
Variations and Customizations: Make It Your Own
One of the greatest advantages of the Ice Cream Sandwich Cake is its versatility. Here are some inspired variations to suit different tastes, occasions, and dietary needs:
- Flavor Themes:
- Chocolate Lover’s Dream: Use chocolate ice cream sandwiches with chocolate ice cream filling. Top with chocolate ganache, cocoa-dusted whipped cream, and chocolate shavings.
- Strawberry Shortcake Style: Alternate strawberry-flavored ice cream sandwiches with layers of fresh strawberries and vanilla ice cream. Finish with macerated berries on top.
- Cookies & Cream Extravaganza: Build the cake with cookies and cream ice cream sandwiches and add crushed Oreos between layers for extra crunch.
- Seasonal Twists:
- Pumpkin Spice Fall Cake: Use pumpkin spice ice cream and graham cracker-based sandwiches. Swirl in cinnamon-spiced whipped cream and top with candied pecans.
- Peppermint Holiday Edition: Incorporate peppermint stick ice cream sandwiches or add crushed candy canes into the whipped topping for a festive red-and-white swirl.
- Lemon Blueberry Summer Cake: Combine lemon sorbet sandwiches with blueberry compote layers and lemon-zested whipped cream.
- Dietary Adaptations:
- Dairy-Free/Vegan: Use plant-based ice cream sandwiches made from almond, oat, or coconut milk. Pair with vegan whipped topping and dairy-free chocolate sauces.
- Gluten-Free: Substitute regular ice cream sandwiches with gluten-free versions (many brands now offer them). Confirm all ingredients are certified