Crispy Oven Fried Chicken Tenders: A Guilt-Free Twist on a Classic Favorite
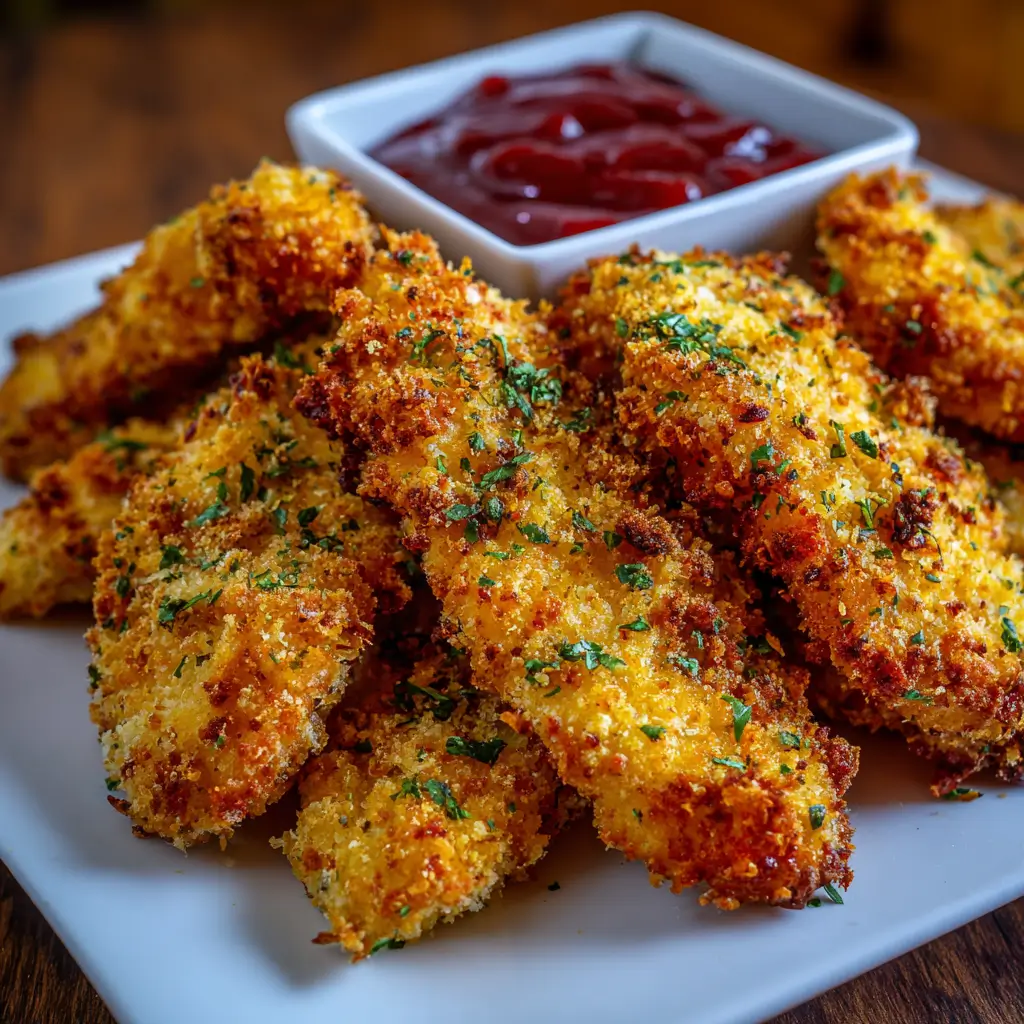
There’s something undeniably comforting about crispy, golden-brown chicken tenders. Whether you’re serving them up for a weeknight dinner, packing them in lunchboxes, or enjoying them as a game-day snack, chicken tenders are universally loved. But what if you could enjoy that same satisfying crunch—without the deep fryer? Enter Crispy Oven Fried Chicken Tenders, a healthier, easier, and just-as-delicious alternative to traditional fried chicken. Baked to perfection with a crunchy coating and juicy interior, these oven-fried tenders deliver all the flavor with significantly less oil and mess. Perfect for health-conscious families, busy cooks, and anyone craving comfort food without the guilt.
The History of Chicken Tenders
Chicken tenders, also known as “tenderloins” or “strips,” originated in the United States during the mid-20th century. While their exact origin is debated, many credit Puritan Backroom, a restaurant in Manchester, New Hampshire, with popularizing chicken tenders in the 1970s. The dish quickly gained traction due to its convenience, mild flavor, and kid-friendly appeal. Traditionally, chicken tenders were deep-fried in oil, resulting in a rich, indulgent treat often served with dipping sauces like honey mustard, ranch, or barbecue.
As home cooking evolved and health awareness grew, so did the demand for lighter versions. Enter the oven-fried method—a brilliant culinary workaround that mimics the crispiness of frying by using baking techniques and smart ingredient choices. This version not only reduces fat but also makes preparation safer and more accessible for everyday cooks. Today, oven-fried chicken tenders are a staple in healthy meal prep, school lunches, and family dinners across America and beyond.
Ingredients Breakdown: What Makes These Tenders So Crispy?
The secret to achieving ultra-crispy oven-baked chicken tenders lies in the coating and preparation method. Each ingredient plays a specific role in creating texture, flavor, and juiciness:
- Chicken Tenderloins (or Breast Strips): Naturally tender and quick-cooking, these cuts absorb flavors well and stay moist when baked properly.
- Buttermilk (or Yogurt Substitute): Acts as a marinade, tenderizing the chicken and helping the breading adhere. Its acidity breaks down proteins, resulting in a softer, juicier texture.
- Eggs: Serve as a binding agent between the chicken and the coating, ensuring an even layer of crispiness.
- Panko Breadcrumbs: Japanese-style breadcrumbs that are larger and flakier than regular breadcrumbs, giving the tenders a superior crunch.
- Whole Wheat or Regular Breadcrumbs: Mixed with panko for added body and structure to the crust.
- Grated Parmesan Cheese (Optional): Adds umami depth and helps with browning for extra golden color.
- Seasonings: Garlic powder, onion powder, smoked paprika, dried oregano, salt, and black pepper build layers of savory flavor without overpowering the chicken.
- Paprika or Smoked Paprika: Provides color and a subtle smokiness, enhancing the “fried” illusion.
- Olive Oil or Cooking Spray: A light coating helps the breadcrumbs brown evenly and develop crisp edges.
Together, these ingredients create a flavorful, crunchy exterior while preserving the natural moisture of the chicken inside—no dry, overcooked meat here!
Step-by-Step Recipe: How to Make Crispy Oven Fried Chicken Tenders
Follow this detailed guide to achieve perfectly crispy, golden-brown chicken tenders every time—with minimal effort and maximum flavor.
Preparation Time:
20 minutes (plus optional 30-minute marinating time)
Cooking Time:
18–22 minutes
Servings:
4
Ingredients:
- 1.5 lbs (680g) chicken tenderloins (or sliced chicken breasts)
- 1 cup buttermilk (or substitute: 1 cup plain yogurt + 1 tbsp lemon juice)
- 2 large eggs
- 1 cup panko breadcrumbs
- ½ cup whole wheat or regular breadcrumbs
- ¼ cup grated Parmesan cheese (optional)
- 1 tsp garlic powder
- 1 tsp onion powder
- 1 tsp smoked paprika
- ½ tsp dried oregano
- 1 tsp salt
- ½ tsp black pepper
- 1–2 tbsp olive oil or non-stick cooking spray
Directions:
- Marinate the Chicken: Place chicken tenders in a bowl and pour buttermilk over them. Add a pinch of salt and let sit at room temperature for 30 minutes (or refrigerate for up to 4 hours). This step tenderizes the meat and enhances flavor.
- Preheat the Oven: Set your oven to 425°F (220°C). Line a large baking sheet with parchment paper or a silicone baking mat. For extra crispiness, place a wire rack on top of the baking sheet and lightly coat it with oil or spray.
- Prepare the Coating Station: In three separate shallow bowls:
- Bowl 1: Whisk together eggs until smooth.
- Bowl 2: Combine panko, regular breadcrumbs, Parmesan (if using), garlic powder, onion powder, smoked paprika, oregano, salt, and pepper.
- Bowl 3: Buttermilk-soaked chicken (drain slightly before breading).
- Bread the Chicken: Working one piece at a time:
- Dip each tender into the beaten eggs, letting excess drip off.
- Transfer to the breadcrumb mixture, pressing firmly to ensure full coverage. Flip and press again for an even, thick crust.
- Place breaded tender on the prepared baking sheet or wire rack.
- Coat with Oil: Lightly brush or spray the tops of the tenders with olive oil. This promotes browning and crispiness.
- Bake Until Golden and Juicy: Bake for 18–22 minutes, flipping halfway through, until the coating is golden brown and the internal temperature reaches 165°F (74°C). If using a rack, flip carefully with tongs to avoid dislodging crumbs.
- Rest and Serve: Let the tenders rest for 3–5 minutes after baking. This helps the crust firm up and keeps the juices inside. Serve warm with your favorite dipping sauces.
Tips for Maximum Crispiness and Flavor
- Use a Wire Rack: Elevating the tenders allows hot air to circulate underneath, preventing sogginess and promoting even browning.
- Don’t Skip the Buttermilk: Acidic marinades tenderize the meat and help the coating stick better. If you don’t have buttermilk, use plain Greek yogurt thinned with milk or a splash of vinegar.
- Press the Breadcrumbs Firmly: Gently press each tender into the breadcrumb mix to create a thick, shaggy crust that mimics fried chicken.
- Double-Dip for Extra Crunch: For an even crunchier result, dip the tenders back into the egg and breadcrumbs for a second coating.
- Avoid Overcrowding: Space tenders at least ½ inch apart on the baking sheet to ensure proper airflow and even crisping.
- Broil for Finish (Optional): For extra golden color, broil for 1–2 minutes at the end—but watch closely to prevent burning.
- Season Between Layers: Sprinkle a pinch of salt on the chicken after the egg dip to enhance flavor throughout the crust.
Variations and Customizations
One of the best things about oven-fried chicken tenders is how easily they adapt to different tastes and dietary needs. Try these creative twists:
- Gluten-Free: Use gluten-free panko and breadcrumbs. Almond flour or crushed cornflakes also work well.
- Dairy-Free: Replace buttermilk with unsweetened almond milk mixed with 1 tbsp lemon juice or apple cider vinegar.
- Spicy Kick: Add cayenne pepper, chili powder, or crushed red pepper flakes to the breadcrumb mix. Toss finished tenders in buffalo sauce for a Nashville-style heat.
- Herb-Infused: Mix in fresh chopped parsley, dill, or thyme into the crumbs for a garden-fresh flavor.
- Nutty Crunch: Add finely ground almonds or crushed pretzels for extra texture and richness.
- Kid-Friendly: Skip the spices and use plain breadcrumbs. Let kids help with breading—it’s fun and encourages healthy eating.
- Meal Prep Version: Prepare and bread tenders ahead of time. Store unbaked on a tray in the fridge (up to 24 hours) or freeze for later. Bake straight from frozen, adding 5–8 minutes to cooking time.
Health Considerations and Nutritional Value
Compared to traditional deep-fried chicken tenders, this oven-baked version offers significant health advantages:
- Lower in Fat: By eliminating deep frying, you cut out hundreds of calories and grams of unhealthy fats per serving.
- High in Protein: Chicken tenderloins are lean and packed with high-quality protein, essential for muscle repair and satiety.
- Rich in B Vitamins: Chicken provides niacin (B3) and B6, which support metabolism and brain function.
- Fiber Boost (Optional): Using whole wheat breadcrumbs adds dietary fiber, aiding digestion and blood sugar control.
- No Trans Fats: Unlike some restaurant-fried versions, this recipe avoids hydrogenated oils and artificial additives.
Nutritional Estimate (per serving, 3–4 tenders):
| Calories | 280 |
| Protein | 32g |
| Total Fat | 9g |
| Saturated Fat | 2.5g |
| Carbohydrates | 16g |
| Fiber | 2g |
| Sugar | 2g |
| Sodium | 650mg |
Note: Values may vary based on ingredient brands and substitutions. To reduce sodium, use low-sodium breadcrumbs and less added salt.
Frequently Asked Questions (FAQ)
Q: Can I make these tenders ahead of time?
A: Yes! Bread the tenders and store them on a tray in the refrigerator (unbaked) for up to 24 hours. You can also freeze them before baking—just lay them flat on a tray, freeze until solid, then transfer to a bag. Bake from frozen, adding 5–8 minutes to the cook time.
Q: Why are my tenders soggy?
A: Sogginess usually comes from overcrowding the pan or skipping the wire rack. Moisture gets trapped underneath. Always use a rack and avoid touching pieces. Also, ensure your oven is fully preheated.
Q: Can I use chicken breast instead of tenderloins?
A: Absolutely. Slice boneless, skinless chicken breasts into 1-inch wide strips to mimic tenderloins. Pound thicker pieces to an even thickness for consistent cooking.
Q: How do I reheat leftovers without losing crispiness?
A: Reheat in an air fryer at 375°F for 3–4 minutes or in a toaster oven until warmed through. Avoid microwaving, which makes the coating soft.
Q: Are these kid-approved?
A: Yes! These tenders are mild, crunchy, and perfect for little hands. Serve with ketchup, honey mustard, or BBQ sauce for maximum approval.
Q: Can I bake them at a lower temperature for longer?
A: It’s not recommended. High heat (425°F+) is key to achieving crispiness without drying out the chicken. Lower temperatures may result in pale, tough tenders.
Summary
Crispy Oven Fried Chicken Tenders offer all the crunch and flavor of fried chicken—without the grease or guilt. Baked to golden perfection, these juicy, protein-packed strips are easy to customize and perfect for meals, snacks, or meal prep.