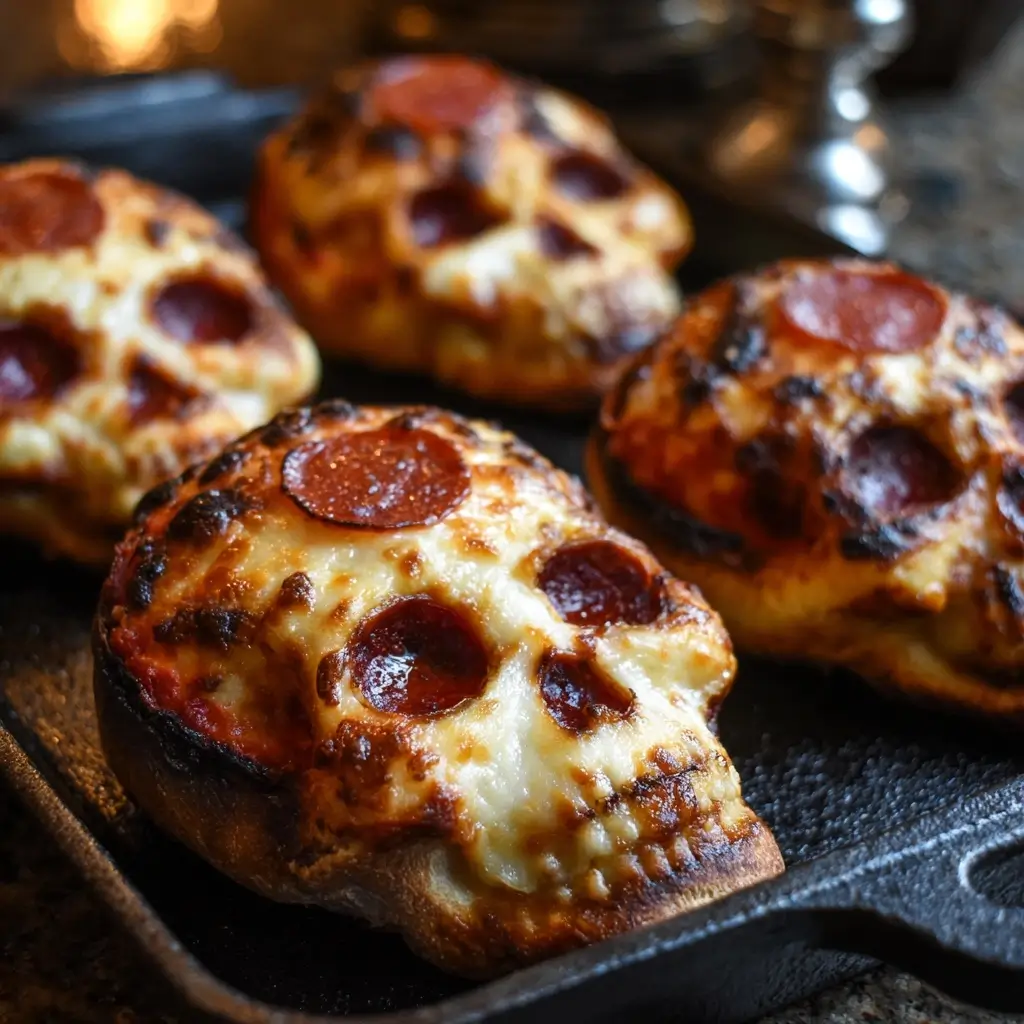
Pizza Skulls: A Spooky, Delicious Twist on a Classic Favorite
If you’re looking for a fun, eerie, and delicious way to surprise your guests at a Halloween party or just add some macabre charm to your dinner table, Pizza Skulls are the perfect culinary creation. These aren’t your average pizza slices — they’re edible works of art shaped like skulls, combining the savory goodness of traditional pizza with a ghoulishly delightful presentation. Whether you’re a seasoned chef or a curious home cook, this guide will walk you through everything you need to know about making Pizza Skulls that are as tasty as they are terrifying.
The History of Pizza Skulls
Pizza Skulls are a modern twist born from the fusion of culinary creativity and seasonal celebration. While pizza itself dates back centuries, originating in Naples, Italy, as a humble flatbread topped with tomatoes, cheese, and herbs, the idea of shaping it into thematic forms is relatively new. The trend of novelty-shaped pizzas gained momentum in the late 20th century with heart-shaped pizzas for Valentine’s Day and jigsaw-puzzle-style pies for kids’ parties.
The concept of Pizza Skulls emerged in the early 2010s, largely driven by social media platforms like Pinterest, Instagram, and TikTok, where food artists began experimenting with dough sculpting techniques. Inspired by Mexican Día de los Muertos (Day of the Dead) traditions — which celebrate loved ones with colorful sugar skulls — bakers and chefs adapted the skull motif into savory formats. Pizza Skulls quickly became a viral sensation during Halloween seasons, blending festive aesthetics with universally loved flavors. Today, they represent a playful intersection of baking, sculpture, and gastronomy, delighting both children and adults alike.
Ingredients Breakdown
Creating Pizza Skulls requires a balance between structural integrity and flavor. The ingredients are mostly standard pizza components, but their preparation and assembly are what make these creations stand out. Below is a detailed breakdown:
- Pizza Dough – Store-bought or homemade, the dough must be pliable yet firm enough to hold its shape when molded. A slightly thicker dough works better for sculpting.
- Tomato Sauce – Classic marinara or pizza sauce, preferably smooth to prevent tearing the dough during assembly.
- Mozzarella Cheese – Freshly shredded mozzarella melts evenly and provides that signature gooey texture.
- Optional Toppings – Pepperoni, olives, bell peppers, mushrooms, or cooked sausage can be used for detailing, such as eyes or teeth.
- Egg Wash – A beaten egg brushed on the dough before baking gives it a golden, bakery-style finish.
- Cooking Spray or Olive Oil – Prevents sticking and enhances browning.
- Flour (for dusting) – Essential for preventing the dough from sticking while shaping.
For those seeking alternatives, gluten-free dough, vegan cheese, or dairy-free sauces can be substituted without sacrificing the spooky appeal.
Step-by-Step Recipe
- Prepare the Dough: If making from scratch, combine 3 cups flour, 1 packet active dry yeast, 1 tsp sugar, 1 tsp salt, 1 cup warm water, and 2 tbsp olive oil. Knead for 8–10 minutes until smooth. Let rise in a greased bowl covered with a towel for 1–2 hours, or until doubled in size. (Skip if using store-bought.)
- Preheat Oven: Set oven to 425°F (220°C). Line a baking sheet with parchment paper or silicone mat.
- Divide and Shape: Divide dough into 6 equal portions. Roll each into a ball. Flatten one ball into a 6-inch circle — this will be the base.
- Create the Skull Face: Take a second ball and roll it into a long rope (about 12 inches). Curve it into a U-shape and press it vertically onto the base to form the skull’s upper jaw and cheekbones. Use smaller ropes for eye sockets — form two circles and attach them symmetrically.
- Add the Nose and Teeth: Roll a small oval for the nasal cavity and press it between the eye sockets. For the mouth, lay down small square pieces of dough horizontally across the lower third of the skull — these become the “teeth.”
- Seal and Trim: Gently press all seams to secure the structure. Use a knife or pizza cutter to refine edges and carve details like brow ridges or jaw contours.
- Par-Bake the Base: Brush with olive oil or egg wash and bake for 5–7 minutes until lightly golden. This prevents sogginess when adding sauce.
- Add Sauce and Cheese: Remove from oven. Spread a thin layer of tomato sauce over the base, avoiding the sculpted areas. Sprinkle generously with mozzarella, focusing on the face area.
- Customize Features: Place black olives in eye sockets for pupils. Add pepperoni slices for bloodshot eyes or red bell pepper strips for gore. Use small cheese cutouts for bone highlights.
- Final Bake: Return to oven for 10–12 minutes, or until cheese is bubbly and edges are golden brown. Rotate pan halfway for even cooking.
- Cool and Serve: Let rest for 3–5 minutes. Serve warm with garlic dipping sauce or marinara on the side.
Tips for Perfect Pizza Skulls
- Dough Consistency is Key: Not too wet, not too dry. It should stretch without tearing. If cracking occurs, moisten fingers and press seams together.
- Use Parchment Paper: Prevents sticking and makes transferring easier, especially with intricate shapes.
- Don’t Overload Toppings: Too much sauce or cheese can weigh down the skull features and cause collapse.
- Work Quickly: Assembled skulls should go into the oven soon after shaping to avoid drying out.
- Chill Before Baking (Optional): For sharper details, place shaped skulls in the freezer for 10 minutes before par-baking.
- Double Layer for Strength: For larger skulls, consider layering two bases with filling in between for sturdiness.
- Use Cookie Cutters as Guides: Trace skull shapes with plastic molds or printed templates for uniformity.
Variations and Customizations
Pizza Skulls are incredibly versatile. Here are some creative spins to elevate your design:
- Glow-in-the-Dark Eyes: Use yellow cherry tomatoes cut in half and place a small mozzarella ball in the center for glowing effect under black light.
- Zombie Style: Tear parts of the dough to simulate wounds. Add spinach puree to sauce for greenish tint. Use red pepper strips as “blood veins.”
- Mini Skull Bites: Make bite-sized versions using muffin tins. Press dough into cups, fill with sauce and cheese, bake until crisp. Perfect for parties.
- Sweet Dessert Skulls: Swap savory elements for Nutella, marshmallows, chocolate chips, and powdered sugar. Bake until golden, then decorate with icing for a spooky dessert.
- Vegetarian Gothic: Use roasted eggplant, zucchini ribbons, and sun-dried tomatoes for a rich, dark aesthetic without meat.
- Gluten-Free & Vegan Skulls: Use almond-flour-based dough and plant-based cheese. Results may vary, so opt for brands known for good meltability.
- Edible Ink Details: After baking, use food-safe black gel or edible ink to draw cracks, stitches, or tribal patterns on the skull.
- Animated Skulls: Insert battery-powered LED tea lights behind translucent cheese sections for an eerie internal glow.
Health Considerations and Nutritional Value
While undeniably indulgent, Pizza Skulls can be adapted to fit various dietary needs. A typical medium-sized Pizza Skull (approx. 1/6th of a large pie) contains around:
- Calories: 320–400 kcal
- Carbohydrates: 40–50g (mostly from refined flour)
- Protein: 12–15g (from cheese and optional meat toppings)
- Fat: 10–16g (saturated fat varies with cheese choice)
- Sodium: 600–900mg (high due to cheese and processed sauces)
Health Tips:
- Opt for whole wheat or cauliflower crust to increase fiber and reduce glycemic load.
- Use low-sodium tomato sauce and part-skim mozzarella to reduce salt content.
- Incorporate vegetables like spinach, mushrooms, or roasted peppers to boost micronutrient intake.
- Control portion size — one skull per person is plenty for a themed appetizer.
- Avoid excessive processed meats like pepperoni, which are high in preservatives and saturated fats.
Full Ingredient List
- 1 batch pizza dough (homemade or store-bought, enough for 1 large pizza)
- 3/4 cup tomato sauce (smooth variety preferred)
- 2 cups shredded mozzarella cheese (freshly grated melts better)
- 1/4 cup grated Parmesan (optional, for extra flavor)
- 1 egg (for egg wash)
- 1 tbsp olive oil (plus extra for brushing)
- Flour (for dusting surface)
- Non-stick cooking spray or parchment paper
- Optional Toppings: Black olives, pepperoni slices, red/green bell peppers, mushrooms, cooked sausage, jalapeños, etc.
Detailed Directions
- Make or Prepare Dough: If using homemade, mix yeast, warm water, sugar, and let sit 5–10 minutes until foamy. Add flour, salt, oil, and knead. Rise until doubled. Punch down and divide into 6 pieces (~80g each).
- Roll Base: On floured surface, roll one piece into a 6–7 inch circle. Place on prepared baking sheet.
- Form Skull Structure: Roll second piece into a long snake (rope). Drape over base to create upper cranium and cheek arcs. Attach with water or egg wash as “glue.”
- Build Eye Sockets: Form two small rings from additional dough; position where eyes should go. Seal edges gently.
- Nose and Jaw: Mold a teardrop-shaped piece for the nose bridge. For the jawline, use another rope along the bottom curve.
- Teeth Detail: Cut small squares from remaining dough and line the lower section horizontally. Press lightly to adhere.
- Reinforce Seams: Use fingertips or a damp brush to smooth joints. Trim excess with a sharp knife.
- Par-Bake: Brush entire skull with egg wash (1 egg beaten with 1 tbsp water). Bake at 425°F for 6 minutes.
- Add Sauces and Cheeses: Remove, spread sauce thinly over base, leaving raised areas clean. Cover with mozzarella, especially over face.
- Decorate Features: Place olive halves in eye sockets. Add pepperoni for red-rimmed eyes or cheese triangles for highlights.
- Final Bake: Return to oven for 10–12 minutes until cheese bubbles and edges turn deep golden.
- Cool and Present: Let cool slightly. Serve on a black platter with dry ice mist (food-safe) for dramatic effect.
Frequently Asked Questions (FAQ)
Q: Can I make Pizza Skulls ahead of time?
A: Yes! You can shape the skulls up to 24 hours in advance, cover, refrigerate, and bake when needed. Par-baked bases can be frozen for up to 3 months.
Q: How do I prevent the skull from collapsing?
A: Ensure proper sealing of joints, avoid overloading toppings, and consider reinforcing with a second layer of dough underneath.
Q: Are Pizza Skulls kid-friendly?
A: Absolutely! Kids love helping shape the skulls. Use mild toppings and consider turning it into a DIY pizza party activity.
Q: Can I freeze Pizza Skulls?
A: Fully baked skulls freeze well. Cool completely, wrap individually, and reheat in oven at 350°F for 10–15 minutes.
Q: What tools do I need?
A: Basic kitchen tools: rolling pin, knife, baking sheet, pastry brush. Optional: skull stencil, piping bag for sauce details, small cookie cutters.
Q: Can I make them without tomato sauce?
A: Yes! Try white pizza with Alfredo sauce, pesto, or even hummus for a unique twist.
Q: How many Pizza Skulls does one recipe yield?
A: Typically 4–6 medium skulls (6–7 inches), depending on complexity and portion size.
Summary
Pizza Skulls are a hauntingly delicious blend of culinary skill and artistic flair, perfect for Halloween, themed parties, or anyone who loves pizza with a side of spookiness. With the right dough, a dash of creativity, and attention to detail, you can craft edible masterpieces that impress and satisfy.