Red Velvet Cheesecake Cake
Introduction
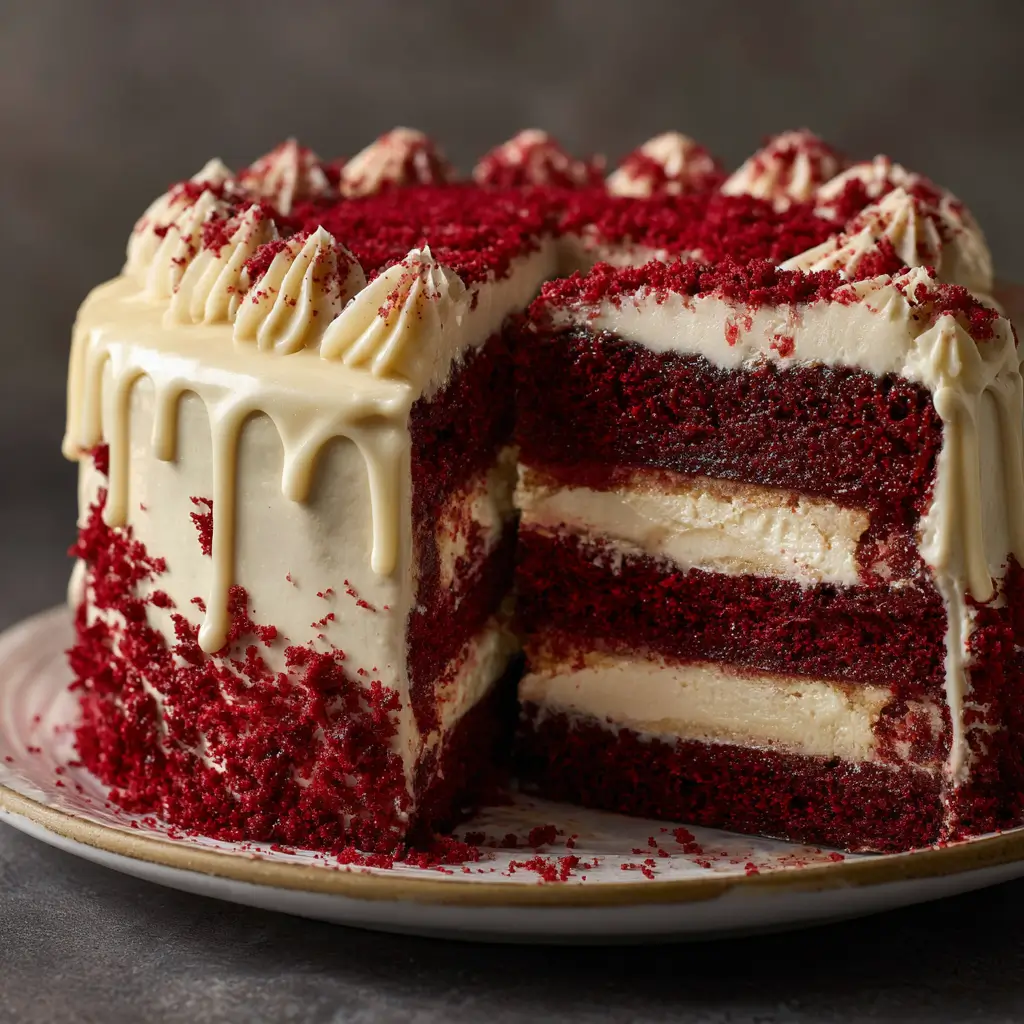
Red Velvet Cheesecake Cake is a luxurious fusion of two beloved desserts: the rich, velvety texture of red velvet cake and the creamy indulgence of cheesecake. It’s a showstopper dessert that’s perfect for birthdays, holidays, or any special occasion where you want to impress your guests with both flavor and presentation. The deep red color, subtle cocoa undertones, and tangy cream cheese layer combine to create a truly unforgettable treat.
The History
Red velvet cake has its roots in the early 20th century, gaining popularity during the Great Depression when bakers began using small amounts of cocoa with buttermilk and vinegar to create a soft, tender cake with a reddish hue. The addition of cheesecake as a layer or swirl is a more modern twist, blending the best of both worlds into one decadent dessert. This hybrid version has become a favorite in bakeries and homes alike, especially in the United States.
Ingredients Breakdown
- For the Red Velvet Cake Layers: All-purpose flour, unsweetened cocoa powder, red food coloring, baking soda, salt, sugar, vegetable oil, buttermilk, eggs, vinegar, vanilla extract
- For the Cheesecake Layer: Cream cheese, sugar, eggs, sour cream, vanilla extract
- Optional Frosting: Cream cheese, butter, powdered sugar, vanilla extract, heavy cream or milk
Step-by-Step Recipe
- Preheat oven to 350°F (175°C) and prepare a 9-inch round springform pan or two 8-inch round pans by greasing and lining with parchment paper.
- In a large bowl, sift together flour, cocoa powder, baking soda, and salt.
- In another bowl, whisk together sugar, oil, and eggs until smooth. Add red food coloring, buttermilk, vinegar, and vanilla; mix well.
- Add the dry ingredients to the wet and mix until just combined. Do not overmix.
- Pour half of the batter into the prepared pan(s).
- In a separate bowl, beat the cream cheese and sugar until smooth. Add eggs one at a time, then mix in sour cream and vanilla.
- Spoon or pour the cheesecake mixture over the red velvet batter.
- Top with remaining cake batter, gently spreading to cover the cheesecake layer.
- Bake for 45–55 minutes, or until the center is set and a toothpick comes out clean.
- Cool completely, then chill in the refrigerator for at least 2–3 hours before slicing.
Tips
- To prevent cracking in the cheesecake layer, avoid overmixing the batter and let the cake cool gradually.
- Use room temperature ingredients for a smoother batter and better texture.
- Wrap the outside of the springform pan with aluminum foil if using a water bath (optional for moist cheesecake).
- Let the cake chill overnight for the best flavor and cleanest slices.
Variations and Customizations
- Swirl the cheesecake into the cake batter for a marbled effect.
- Add a layer of chocolate ganache or a dusting of cocoa powder for extra richness.
- Use natural beet juice or puree for a healthier red color alternative.
- Try a vegan version with plant-based cream cheese, flax eggs, and alternative milks.
- Create a layered tiered cake by doubling the recipe and baking in multiple pans.
Health Considerations and Nutritional Value
Red Velvet Cheesecake Cake is high in sugar, fat, and calories due to the cream cheese, butter, sugar, and oil. A typical slice can contain anywhere from 400–600 calories, depending on portion size and frosting. For a healthier version, consider using low-fat cream cheese, coconut oil instead of vegetable oil, reduced-sugar sweeteners, or whole wheat flour. Always enjoy in moderation as part of a balanced diet.
Ingredients
Red Velvet Cake:
- 2 cups all-purpose flour
- 1/2 cup unsweetened cocoa powder
- 1 cup granulated sugar
- 1/2 tsp baking soda
- 1/2 tsp salt
- 1/2 cup vegetable oil
- 1 cup buttermilk
- 2 large eggs
- 2 tbsp red food coloring
- 1 tsp vanilla extract
- 1 tsp white vinegar
Cheesecake Layer:
- 24 oz cream cheese, softened
- 1/2 cup granulated sugar
- 2 large eggs
- 1/4 cup sour cream
- 1 tsp vanilla extract
Cream Cheese Frosting (optional):
- 8 oz cream cheese, softened
- 1/2 cup unsalted butter, softened
- 3 cups powdered sugar
- 1 tsp vanilla extract
- 1–2 tbsp heavy cream or milk
Directions
- Preheat oven to 350°F (175°C). Grease and line a 9-inch springform pan or two 8-inch pans with parchment paper.
- In a large bowl, sift together flour, cocoa powder, baking soda, and salt.
- In a separate bowl, mix oil and sugar until smooth. Add eggs and mix well.
- Add red food coloring, buttermilk, vinegar, and vanilla extract to the egg mixture and whisk until combined.
- Mix the dry ingredients into the wet until just combined. Do not overmix.
- In another bowl, beat cream cheese and sugar until smooth. Add eggs one at a time, then mix in sour cream and vanilla.
- Divide the red velvet batter and pour half into the pan. Spoon the cheesecake mixture on top, then add the remaining cake batter.
- Smooth the top and bake for 45–55 minutes, until the center is set and lightly golden.
- Cool completely, then refrigerate for at least 2–3 hours before serving.
- Frost with cream cheese frosting if desired before slicing and serving.
FAQ
- Can I make this in a regular cake pan? Yes, use a 9×13-inch pan or two 8-inch round pans.
- How do I store this cake? Keep refrigerated in an airtight container for up to 5 days.
- Can I freeze the cake? Yes, wrap well and freeze for up to 2 months. Thaw overnight in the fridge.
- Why did my cheesecake crack? Overmixing, high oven heat, or sudden temperature changes can cause cracks.
- What can I substitute for buttermilk? Mix 1 cup milk with 1 tbsp lemon juice or white vinegar and let sit for 5 minutes.
Summary
Red Velvet Cheesecake Cake combines the rich, moist texture of red velvet cake with the creamy luxury of cheesecake for a truly decadent dessert. Perfect for celebrations, it’s easy to customize and always a crowd-pleaser.