
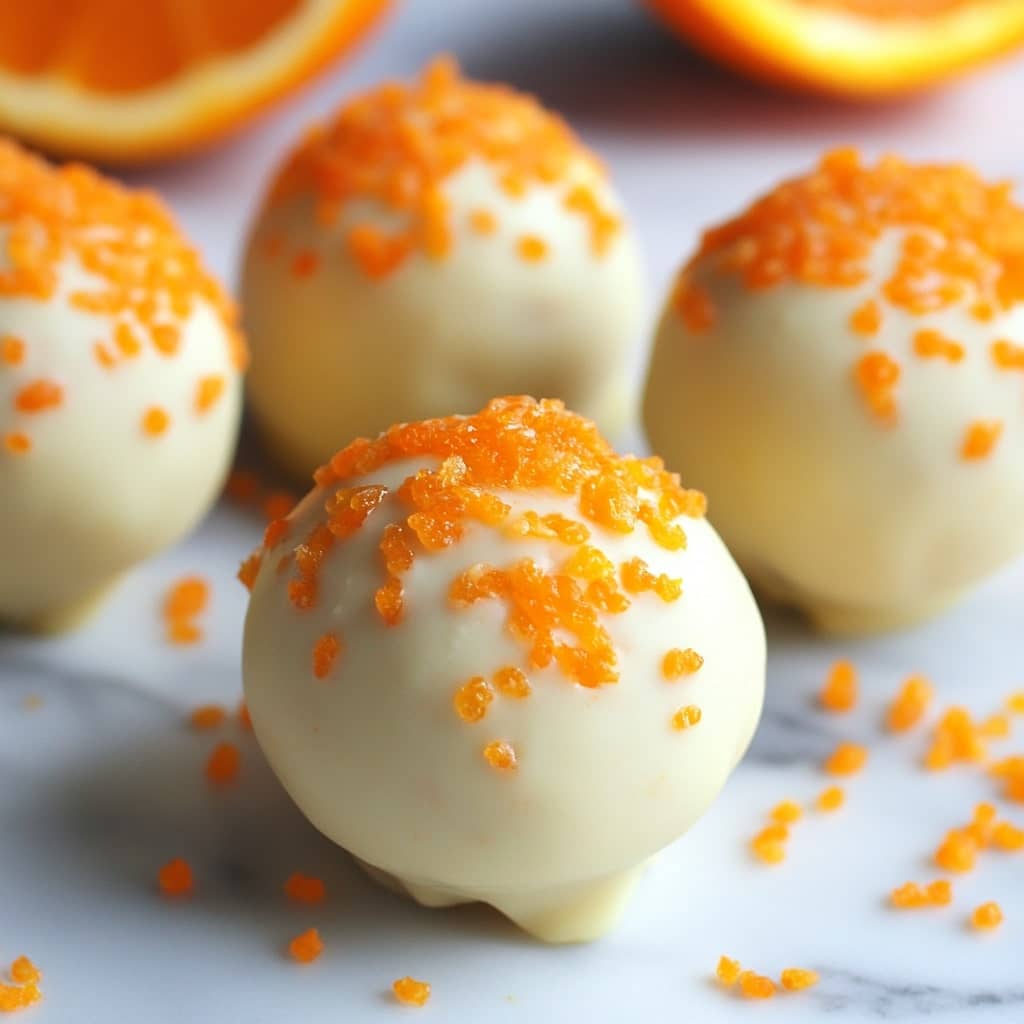
No Bake Orange Creamsicle Truffles are a delightful fusion of creamy white chocolate and bright citrus, evoking the nostalgic flavor of the classic frozen treat in a bite-sized, easy-to-make dessert. Perfect for summer gatherings, holiday platters, or just a quick sweet fix, these truffles offer a burst of orange flavor with a smooth and luscious texture, all without the need for turning on your oven. They’re a creative twist on truffles that combines simplicity with gourmet taste, making them a favorite for both casual bakers and dessert connoisseurs alike.
The History of Orange Creamsicle Truffles
The inspiration behind Orange Creamsicle Truffles lies in the iconic Creamsicle popsicle, a frozen treat invented in the early 20th century by the Popsicle brand. The original Creamsicle, known for its orange-flavored ice shell wrapped around creamy vanilla ice cream, quickly became a summer staple. Over time, its unmistakable flavor combination—bright citrus and smooth vanilla—found its way into various dessert interpretations, including cakes, drinks, and candies. The no-bake truffle version is a relatively modern creation, emerging during the rise of DIY food culture and no-bake dessert trends in the early 2000s. Designed to be convenient, kid-friendly, and adaptable, the No Bake Orange Creamsicle Truffle gained popularity through blogs and social media platforms, where quick and visually appealing recipes dominate. This dessert reflects a modern craving for nostalgic flavors with an easy, health-conscious twist.
Ingredients Breakdown
- White Chocolate Chips (or chopped white chocolate): This forms the rich, creamy base of the truffle and mimics the vanilla ice cream center of the original Creamsicle. Use high-quality white chocolate for a smoother texture and better flavor.
- Cream Cheese (softened): The tanginess of cream cheese balances the sweetness of white chocolate and gives the truffle a rich, cheesecake-like mouthfeel.
- Orange Zest: Adds natural citrus oil and bright, fresh orange flavor without additional liquid that might interfere with texture.
- Orange Extract (or pure orange oil): Provides a concentrated orange flavor. If you prefer a more natural touch, substitute with fresh orange juice, though the consistency may vary.
- Vanilla Extract: Enhances the overall flavor profile and deepens the Creamsicle experience.
- Powdered Sugar (optional): Used to adjust sweetness or help firm up the mixture before rolling.
- Crushed Vanilla Wafers or Graham Crackers (optional): Used for coating the truffles or adding texture to the filling.
- Orange Food Coloring (optional): For that classic Creamsicle appearance, you can add a hint of orange coloring to make the truffles more visually appealing.
Step-by-Step Recipe:
- Melt the white chocolate: In a heat-safe bowl, melt white chocolate chips in the microwave in 30-second intervals, stirring between each session until smooth. Alternatively, use a double boiler for more control.
- Combine with cream cheese: In a mixing bowl, beat the softened cream cheese until smooth. Gradually add the melted white chocolate while stirring continuously to prevent clumps and ensure a smooth texture.
- Add flavoring: Mix in orange zest, orange extract, and vanilla extract. Stir until fully incorporated. You can also add a small drop of orange food coloring here for a vibrant hue.
- Chill the mixture: Cover and refrigerate the mixture for at least 1–2 hours or until it’s firm enough to roll into balls.
- Roll into truffles: Using a spoon or small scoop, portion out the chilled mixture and roll into bite-sized balls with your hands.
- Coat the truffles: Roll each truffle in crushed vanilla wafers, graham cracker crumbs, shredded coconut, or powdered sugar, depending on your preference. You can also dip them in melted white chocolate for a polished finish.
- Chill again: Place the finished truffles on a parchment-lined tray and refrigerate for another 30 minutes to firm up completely before serving.
- Serve and enjoy: Store in the refrigerator in an airtight container and enjoy chilled for the best texture and flavor.
Tips for the Perfect Truffle
- Use room-temperature cream cheese to ensure a smooth mixture without lumps.
- Don’t overheat the chocolate—white chocolate is delicate and can seize quickly. Use low heat and stir frequently.
- Chill thoroughly between mixing and rolling to make shaping the truffles much easier and less messy.
- Use gloves or slightly damp hands when rolling to prevent sticking.
- Customize the coating to fit your occasion—use sprinkles for birthdays, coconut for a tropical vibe, or drizzle with chocolate for a fancy finish.
- Add a pinch of salt to balance sweetness and enhance the citrus notes subtly.
- Double the batch—these go quickly, and they freeze beautifully if you want to save some for later.
Variations and Customizations
- Chocolate-Dipped Creamsicle Truffles: After forming the truffles, dip them in melted white or dark chocolate and allow to set for a more indulgent finish.
- Coconut Creamsicle Truffles: Add shredded coconut to the filling or coating to bring a tropical twist.
- Low-Sugar Option: Use sugar-free white chocolate and reduce or omit powdered sugar for a diabetic-friendly version.
- Vegan Version: Substitute with dairy-free cream cheese and vegan white chocolate to suit plant-based diets.
- Add a Crunch: Mix crushed cookies or chopped nuts into the filling for texture.
- Frozen Creamsicle Bites: Freeze the truffles instead of chilling them and enjoy them as icy bites on hot days.
- Citrus Twist: Substitute or add lemon or lime zest for a more complex citrus flavor profile.
- Alcohol-Infused Version: Add a splash of orange liqueur like Grand Marnier or Cointreau for an adult-only version—great for cocktail parties.
Health Considerations and Nutritional Value
While No Bake Orange Creamsicle Truffles are a treat meant to indulge, they can be enjoyed in moderation as part of a balanced lifestyle. Each truffle contains a mix of fats from white chocolate and cream cheese, sugars from chocolate and any sweeteners added, and small amounts of protein. The citrus zest adds a dose of natural vitamin C, though minimal. To make the recipe healthier, consider the following swaps: use reduced-fat cream cheese, cut down on added sugars, or choose sugar-free or stevia-sweetened white chocolate. Gluten-free versions can be made by avoiding cookie coatings or using gluten-free alternatives. Vegan options are easily adaptable with non-dairy substitutes. Keep portion size in mind, as the richness of each bite means even one or two can satisfy a sweet craving. For those with dietary restrictions, be cautious of allergens like dairy, soy (in chocolate), and gluten (in coatings). On the bright side, this dessert is preservative-free and can be made with natural flavors and coloring.
FAQ
Q: Can I freeze Orange Creamsicle Truffles?
A: Yes! They freeze beautifully. Just place them in a single layer in an airtight container and freeze for up to 2 months. Let thaw for 10–15 minutes before serving.
Q: How long do they last in the fridge?
A: Up to a week in an airtight container. Keep chilled to maintain their shape and texture.
Q: Can I make them without cream cheese?
A: You can substitute with mascarpone or a thick coconut cream for a different texture, but cream cheese is ideal for tang and stability.
Q: Do I have to use food coloring?
A: No, it’s optional! It’s only for visual effect. The flavor is the same without it.
Q: Can kids help make this recipe?
A: Absolutely! Since it’s no-bake and easy to roll, it’s a fun and safe recipe for kids to help with.
Q: Can I use fresh orange juice instead of extract?
A: Yes, but you may need to adjust the amount to maintain the correct consistency. Extract provides a more concentrated flavor with less liquid.
Q: What if my mixture is too soft to roll?
A: Chill it longer, or add a little powdered sugar or cookie crumbs to firm it up before rolling.
No Bake Orange Creamsicle Truffles
Ingredients
Method
- In a large bowl, cream together the softened butter and powdered sugar until the texture is smooth and fluffy.
- Mix in the thawed orange juice concentrate, vanilla extract, and orange zest if you’re using it.
- Add the crushed vanilla wafers and stir until a dough-like consistency forms.
- Scoop out tablespoon-sized portions of the mixture and roll them between your hands to form smooth balls.
- Arrange the truffle balls on a baking sheet lined with parchment paper, then place them in the fridge for about 30 minutes to firm up.
- Place the white chocolate chips or candy melts in a microwave-safe bowl.
- Heat in 20-second increments, stirring after each round, until the chocolate is fully melted and silky smooth.
- Using a fork or dipping tool, carefully lower each chilled truffle into the melted white chocolate. Let the excess coating drip off.
- Return each coated truffle to the parchment-lined tray.
- While the coating is still wet, decorate with sprinkles or a bit of extra orange zest for a festive touch.
- Refrigerate the truffles for another 15 to 20 minutes, or until the coating is fully set. Serve them chilled for the best texture, or let them come to room temperature for a softer bite.
- Let me know if you want this adapted for a fun recipe card or printable version!
Notes
Keep the truffles in an airtight container in the refrigerator for up to one week, or store them in the freezer for up to three months for longer shelf life. Substitutions:
If desired, swap out the vanilla wafers with graham cracker crumbs to give the truffles a slightly different taste and texture. Boost the Orange Flavor:
For a more intense citrus kick, add a few drops of orange extract to the mixture.