Ingredients
Method
- Preheat the oven to 350°F. Lightly grease the bottom of a 9-inch baking dish with cooking spray, or line it with parchment paper, and set aside.
- In a saucepan, melt the butter over medium heat. Once melted, remove from the heat and stir in the chocolate morsels and sugar. Mix until the chocolate is fully melted and smooth.
- Add the eggs one at a time, stirring after each addition, then fold in the vanilla extract. Gradually mix in the cocoa powder, flour, salt, and baking powder until just combined (avoid overmixing).
- Pour the batter into the prepared baking dish and bake for 40 minutes. Once baked, remove from the oven and allow the brownies to cool completely.
- For the topping, beat the cream cheese, powdered sugar, and vanilla extract together until smooth. Stir in the melted chocolate, then gently fold in half of the Cool Whip until well incorporated.
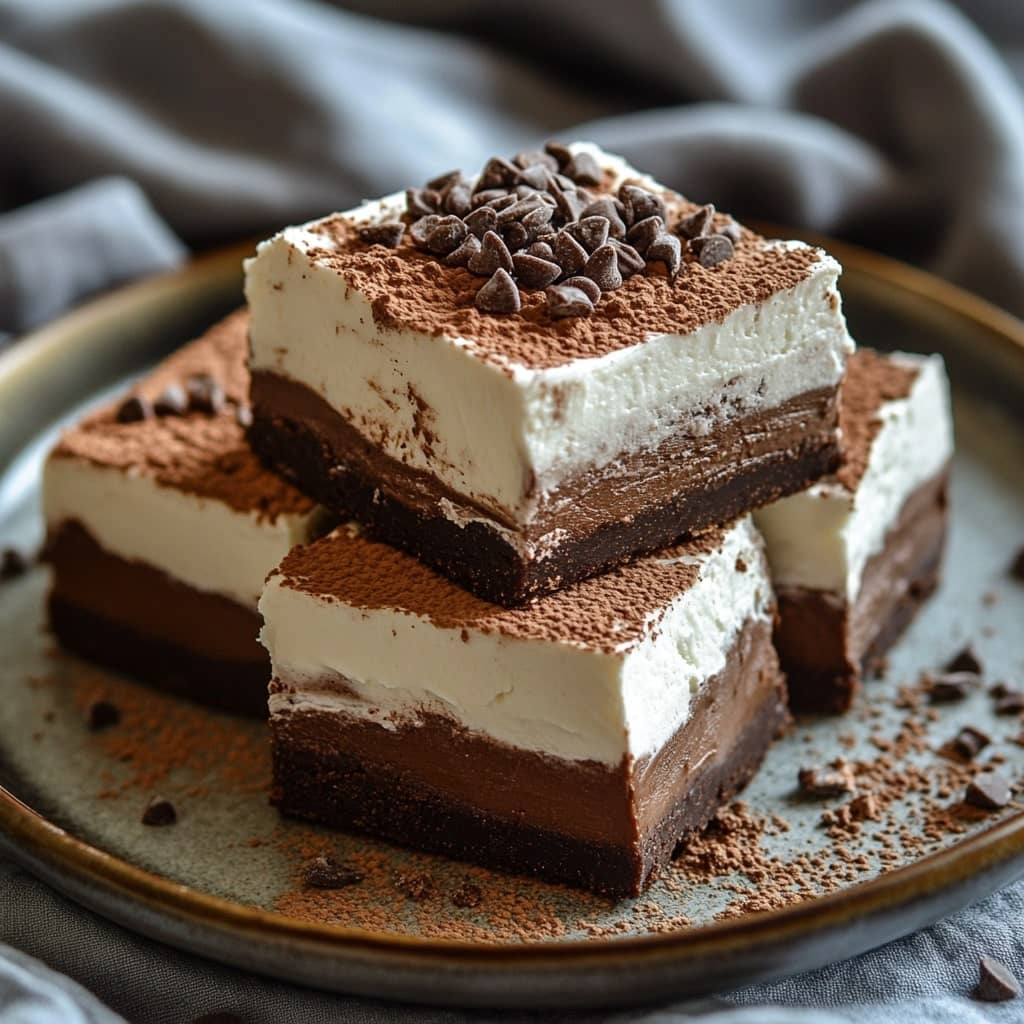
- Spread this mixture evenly over the cooled brownies. Then, spread the remaining 8 ounces of Cool Whip over the top of the chocolate layer. Cover loosely with plastic wrap and refrigerate for at least 4 hours.
- Before serving, top with chocolate shavings and enjoy chilled.
Notes
Refrigerator: Cover the brownies loosely with plastic wrap and store them in the refrigerator for up to 3 days.
Freezer: For longer storage, wrap the brownies in both plastic wrap and foil, then store them in the freezer for up to 2 months. Thaw them overnight in the fridge before serving.
For best results, use a 2 or 3-inch deep baking pan to accommodate all three layers. If you're using a pan that's less than 2 inches deep, reduce the amount of ingredients for the French Silk layer by half.
For additional tips and tricks, be sure to check the blog post.